
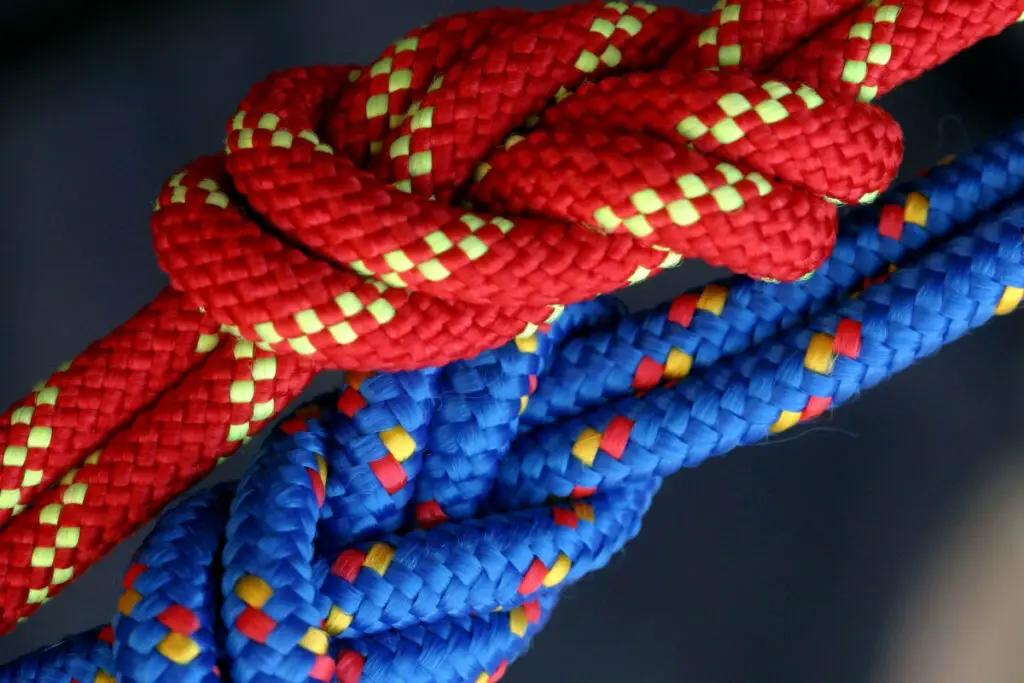
Whether it’s wet from recent weather during a climb, or after a good cleaning, drying climbing rope properly is key to keeping it last longer. Are there multiple ways to dry a rope and how long does it take?
It takes between eight and forty-eight hours for a climbing rope to dry after washing it. It’s key that the rope has dried completely before it’s used again to help it keep hold of the dynamic properties that help it stretch and have strength. There are a few different drying methods.
With so many methods to dry a rope, it’s best to use your own discretion and choose a method that works best for you. Here are a few different methods that are commonly used.
Airdrying Climbing Rope
This is probably the most common method used by experienced rock climbers, although it does take some time. Timing will vary when airdrying depending on the thickness, material, and length of the rope. You can usually tell when it’s completely dry by feeling the weight of the rope, especially if you know how heavy or light it feels when it’s dry. If you don’t know the weight by hand, most climbers suggest weighing the rope before and after the drying process.
The environment you choose to dry it in is also a key factor in how long it may take to airdry your rope. While there may be variations in your home environment, there are mainly two options to choose from in this matter. You can either choose to dry it inside or you can choose to dry it outside, but only if the weather permits you to do so.
However, no matter whether you choose to airdry the rope inside or outside, it’s important to note that you should not put the rope in direct sunlight. Direct heat and contact from UV rays can decrease the lifespan of the rope.
If you choose to airdry the rope outside or inside, there are a few criteria that should be met depending on the environment to help with the process. If you’re drying it outside, dry heat, in a more shady area, and a little wind would be the perfect outside environment.
The more humid or colder it is outside the longer the rope will take to dry. If you’re choosing to dry it inside your home, you don’t necessarily need a shady spot, just an area where it’s not going to be in direct sunlight. It is recommended to put it in an area that’s well ventilated and out of reach from children and any curious pets.
If you’re airdrying your climbing rope after washing it or if it just got a little wet on the climb, the washing process will alter some of the airdrying steps. If you washed it, you’ll want to shake out any excess water and then untie any knots to help it dry faster and to prevent moisture from being locked up in the rope and potentially causing mold to grow.
If you’re just fresh off a climb where the weather turned and you and/or the rope got wet, those steps would probably only apply depending on how wet the rope got. Some rock climbers will also towel pat/squeeze dry their rope to help speed the drying process. However, they recommend not squeezing and pulling on the rope as it can damage it, you’ll simply want to squeeze a section at a time before moving on to the next one.
Laying it out to air dry would probably look more like hanging it or loosely coiling it around something. Whether that be on a clothesline in a shady area, over the backs of a couple of chairs, a curtain or shower rod, banisters, on a tarp or towel, etc. The term commonly used is to flake the rope out, which just means to spread it out or hang or coil it loosely.
Especially if you’re doing this process inside, a lot of rock climbers will use a fan of some sort to blow air directly on the rope to help speed up the process. If you choose to use a fan, sometimes it will need to have its position changed every now and then to better hit different areas of the rope and ensure each section dries completely. (Source)
The varying methods for how to dry your rope mainly have to do with the environment of where you choose to let it air dry and whether the rope is hung up, coiled around something, or laying as flat as possible. Usually, there will be instructions given in the manual with the rope as to proper care for it when you clean/wash it.
Can I Dry My Climbing Rope in a Clothes Dryer?

There are some mixed answers to this. The first instinctual answer is no, since clothes dryers typically involve direct heat, and remember we said earlier that direct heat is typically a no-no for trying to dry a climbing rope.
However, there are a few climbers who feel that, depending on the rope material and finish, at half power or low heat drying it in a clothes dryer should be fine as long as you check it every ten to twenty minutes or so. It may take about the same time as airdrying it would, so it seems at least. Some climbers have stated that they’ve done it, and it ruined their rope. (Source)
However, it seems to be the common consensus that any form of direct or artificial heat- like heat provided by clothes dryers and hair dryers- should be avoided, as quick-drying solutions for your climbing rope. Some would say it’s better to use the rope when it’s damp than to try and dry it through a clothes dryer.
However, it is important to note that most climbing ropes are made of nylon material, and with that, they do lose at least 40% of their strength or tension when they’re wet. So the smart thing would be to either wait out the airdrying process or have more ropes on hand to use for climbs as your other ropers are drying.
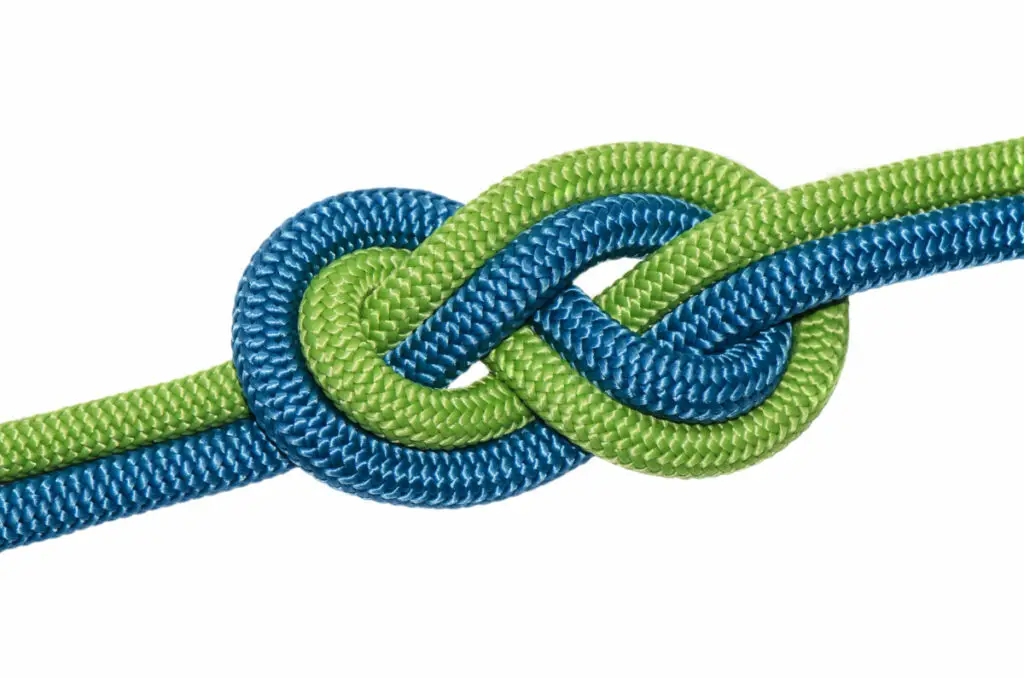
Types of Climbing Rope
There are mainly two types of climbing rope used by rock climbers. Both may be used in a climbing excursion, but typically they each have their specified purpose or use.
The first type of climbing rope is dynamic rope. It has a lot of stretch and is good for when the impact from a fall needs to be absorbed. Dynamic ropes typically come in three styles: single, half, and twin. Single dynamic ropes are best used for traditional and sport climbing, big-wall climbing, and top-roping. Most climbers probably use these ropes, and the name implies that it’s meant to be used by itself, without other ropes as some rope styles do.
Half ropes are best used for trad climbing with wandering multi-pitch rock routes, mountaineering, and ice climbing. These ropes do require some skill to handle though. Twin ropes are similar to half ropes, they’re best used for the same activities, except for trad climbing. Use this rope with non-wandering multi-pitch rock routes.
Sometimes dynamic ropes are marked to be used in any of the three styles, or only in one. No matter the case it’s always important to only use the rope as it is designed to be used.
The second type of climbing rope is static rope. These ropes are typically used for situations when an injured climber needs to be lowered or something needs to be hauled up. They’re best used for rescue work, caving, or fixed lines with ascenders. Since they don’t have a lot of stretch like the dynamic ropes, they’re not be used for top-roping or lead climbing since that is not what they are designed to be used for. You can typically buy static ropes by the foot to ensure you have the exact length you need.
When choosing a rope for outdoor climbing, remember that at least half the rope’s length needs to be equal to or longer than the pitch or route being climbed. For indoor climbing ropes, such as when at the gym, the biggest thing is that the rope is still long enough to properly and safely lower a climber.
If you are unsure about the type of rope you need for a certain activity, don’t be afraid to seek guidance from other climbers- experienced ones- and even guidebooks. The key to any climbing activity is to ensure your safety. and the type of ropes you have are key to making it or breaking it. Unfortunately, that term can be taken literally. (Source)
Climbing Rope Material and Other Rope Features
Climbing ropes in modern-day are typically made out of synthetic polyamides, the most common of which is nylon. However, back when rock climbing was first starting out, and nylon ropes weren’t known to be part of climbing gear, most climbing ropes were made out of hemp or other fibers. But these ropes were rather heavy and didn’t have much stretch. They were also rather common to be known for breaking during a fall or when weighted over edges.
When nylon ropes were first introduced to the activity of climbing, they had a strong core with abrasion resistance on the outer side of the rope, making rock climbing a lot lighter and a lot safer. However, it does like to absorb water, so in addition to most climbing ropes being made out of nylon today, they also have a second coating called the dry-coating. This helps the rope to stay dryer of course, but since they lose so much of their strength when wet, it helps them to also maintain strength and durability. (Source)
However, with the dry-coating on climbing ropes, ropes will tend to be more expensive. It is possible to find and use ropes without this dry-coating, though it may put a limit on the types of activities you can do and the weather recommended to use the rope in regards to staying safe.
Most climbing ropes will have a few other identifiable features to help when climbing and rappelling. One feature is called a middle mark, this is usually black dye around the middle of the length-or halfway in the total length- of the rope and is key for rappelling. Some middle marks will be bi-color, which means that there’s a change in weave pattern with an easy-to-see middle spot to help differentiate the two halves of the rope.
Some ropes will have end-of-rope markings, meaning that as you’re rappelling down or lowering another climber you can easily see when and where the rope is coming to an end. These markings will either be different colored thread than the rest of the rope or will also be identified through markings made by a black dye.
Climbing ropes will vary in their weight as well, but mainly this is attributed to the varying rope lengths and their diameters. A general rule of thumb is that the thicker the rope, the heavier it will be. However, there may be some cases where the core construction of the rope can cause a skinnier rope to be heavier than a thicker one.
Whichever weight and/or diameter you need will depend on the designated activity and the skill level needed for it. At the very least, your own skill level in regards to the activity should be taken into consideration, as some ropes will be easier to handle than others for beginner climbers.
The whole point of having the right rope for the right activity and caring for the rope properly are all important to ensure the safety of those climbing. Whether that’s you or you are aiding in rappelling other climbers, remember that safety should always come first. Take the time to consider the ropes needed for specific activities, and when it is time for them to be washed, do so properly so as to not cause any unnecessary damage to the rope that may prove fatal as time goes on.